Gunsmiths take note: The following information is useful to some aspiring gunsmiths. If you have information that would be interesting for those interested in learning more about gun repair or gunsmithing, please feel free to share it with us. We'd love to post it on this site. To email your gunsmith information or photos, email austin_long@yahoo.com
Below is described a procedure used to attach a recoil pad to a rifle stock.
The recoil pad used is a
Pachmayr
model. Although the pad already has a white spacer built into it, a maple
spacer was included in the procedure both because it was wanted and so as to
describe its inclusion.
Even though epoxy is used as a bonding agent, retainer screws are employed to
help secure the recoil pad to the stock. This is because epoxy does not
actually bond with plastics or rubber. However, the epoxy will provide a very
strong adhesion and can be defeated with determination if the screws are
removed.
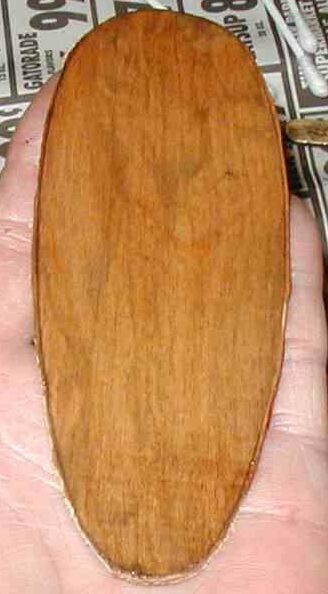
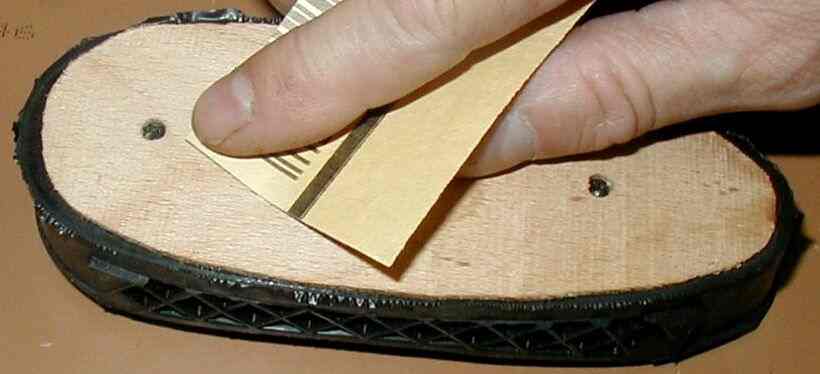
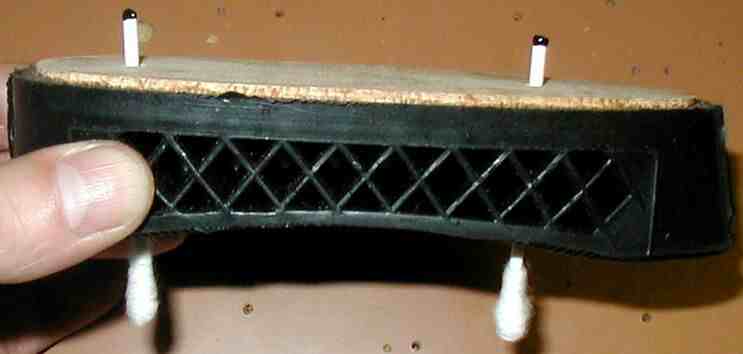
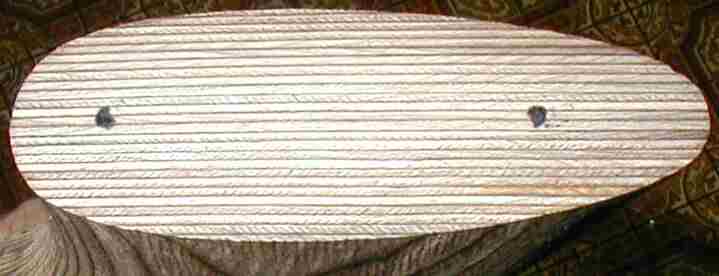
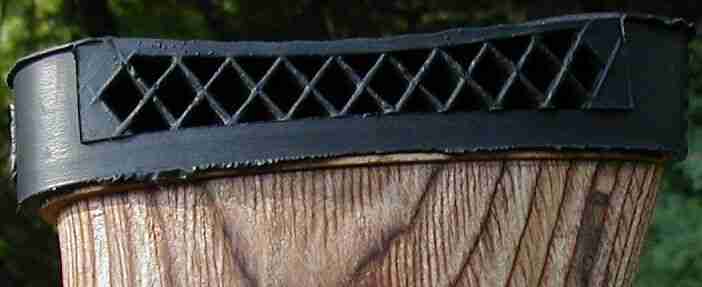
Left - Round tooth picks are punched through the pad to show where the screw
holes are. Holes come molded into the pad from Pachmayr but are only visible
from the back. For the spacer, an outline of the stock butt was penciled onto a
1/16
th
inch thick sheet of maple and cut out using a jig saw. The spacer was cut out
following the outside of the scribe marks so that the spacer would be slightly
over sized.
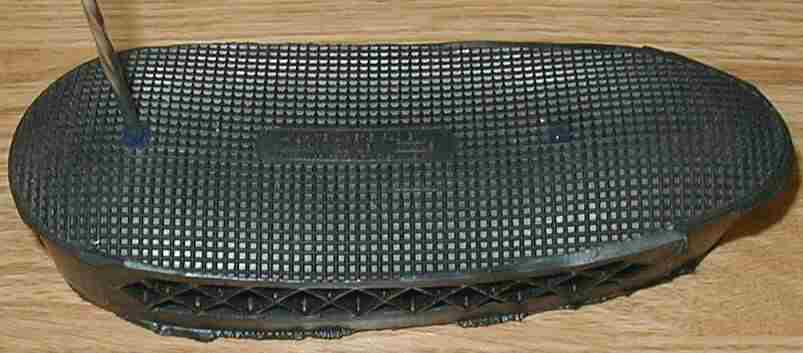
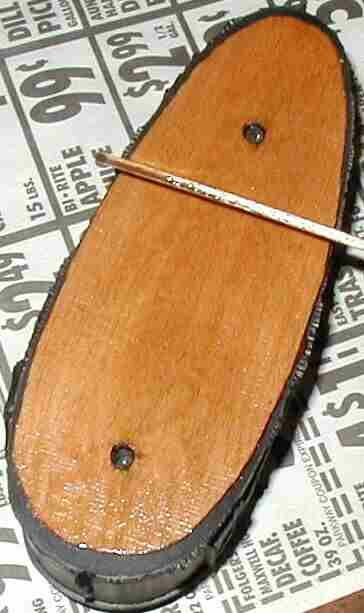
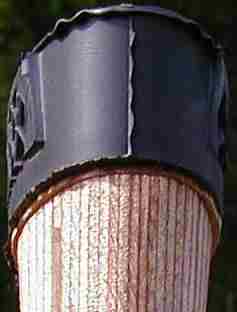
Right - The small holes made by pushing the toothpicks through the pad's face
were marked with a pen and a utility knife was used to cut very short slits
into the pad where the retainer screw heads can push through and vanish into
the pad's interior. The two screws came with the pad from the vendor. Pads
should first be inspected to assure these slits were not already made by the
manufacturer.
Brownells
original glass bedding epoxy compound was used to attach the recoil
pad to the stock. Within that kit came packs of both black and brown dye.
For attaching the maple spacer to the recoil pad, black dye was mixed with
epoxy compound to match the color of the recoil pad just in case the spacer
did not rest perfectly flat on the pad surface after adhering. The epoxy
should not be thickened so
no other aggregate
, such as the floc that also comes with the kit, was mixed with the
compound.
Left - Epoxy compound was mixed and spread liberally onto one side of the maple
spacer. All the surface was covered.
Right - Excess epoxy was then scrapped off the spacer until only a very thin
and even layer remained. The remaining epoxy is so thin as to not allow it to
ooze out when attached to the pad.
The recoil pad, where the spacer will attach to, is likewise treated to a very
thin and even coat of the epoxy.
Left - The spacer is centered onto the pad and pad and spacer are sandwiched
between two flat pieces of wood for clamping. The spacer is squeezed tight to
the pad to prevent gaps between the two. The clamp is left in place for a
couple days to allow the epoxy to cure.
Right - After curing the clamp is removed and the spacer is adhered, gap free,
to the pad with no epoxy lines showing.
Top - To mark where the maple spacer is to be drilled for the retainer screws,
a pointed pick is run, centered, through the screw holes and carefully driven
through the spacer.
Bottom Left - The maple spacer is drilled through the pin holes so the retainer
screws can pass through into the stock butt. Drilling ceases as soon as the
bit passes through the maple spacer.
Bottom Right - Burrs caused by the drill bit are lightly knocked off with a
medium grit sand paper.
Left - A Q-tip was cut in half. Each half was run through a retainer screw
hole. The tips were then lightly coated with inletting black. The tips were
then pulled back just inside the maple spacer so they would not protrude. The
pad was then aligned onto the stock butt and the Q-tip halves, held
perpendicular, were slowly screwed onto the stock butt.
Right - Inletting black left by the tips of the Q-tip halves mark were the
retainer screw holes are to be drilled.
The stock is drilled to accept the two retainer screws before bonding the
recoil pad to the stock.
For the same reason mentioned at the top of this procedure, some brown dye
supplied with the bedding kit is used to match the epoxy to the color of the
stock wood.
Left - Epoxy compound was mixed and spread liberally onto the maple spacer.
All the surface was covered.
Center - Excess epoxy was then scrapped off the spacer until only a very thin
and even layer remained. The remaining epoxy is so thin as to not allow it to
ooze out when attached to the stock.
The stock butt, where the spacer will attach to, is likewise treated to a very
thin and even coat of the epoxy.
Right - The pad is aligned onto the stock. The retainer screws are tightened
into the stock and the pad is tightly clamped to the stock. The clamp is
allowed to remain in place for a couple days while the epoxy cures.
The pad is bonded to the stock with no gaps or epoxy lines showing. The pad
will be generally shaped using a belt sander. Final shaping will occur as the
stock is hand shaped using sanding papers backed with
sanding blocks
. The plastic factory spacer can be seen in the picture below. It will become
fully visible as shaping is performed.