Building a Muzzle Loader from Kit
page five of five
If you've ever wanted to build a muzzleloader, flintlock or black powder rifle from a kit, this is for you. With complete instructions from start to finish for muzzleloader rifle kit assembly. This page is photograph intensive and may take several minutes to completely load.
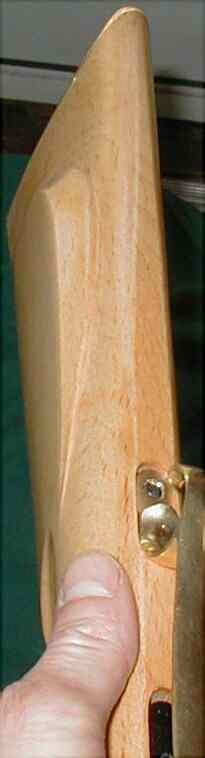
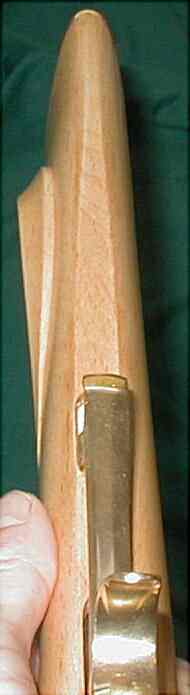
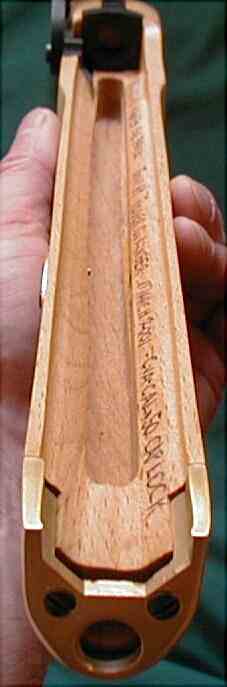
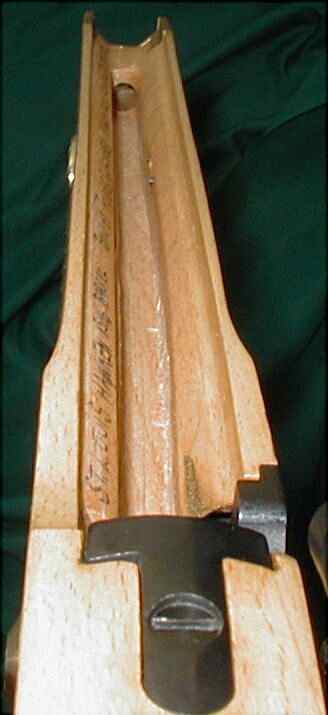
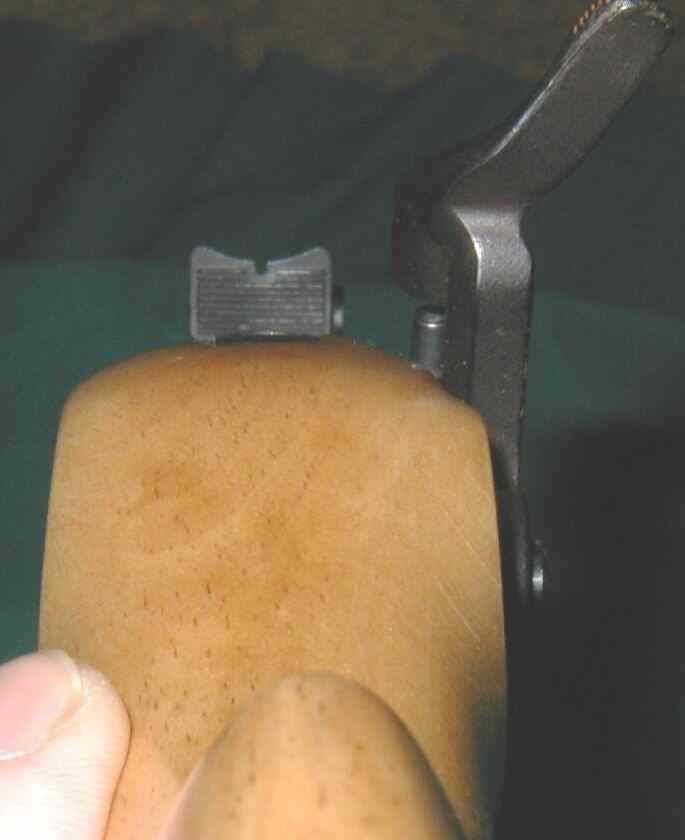
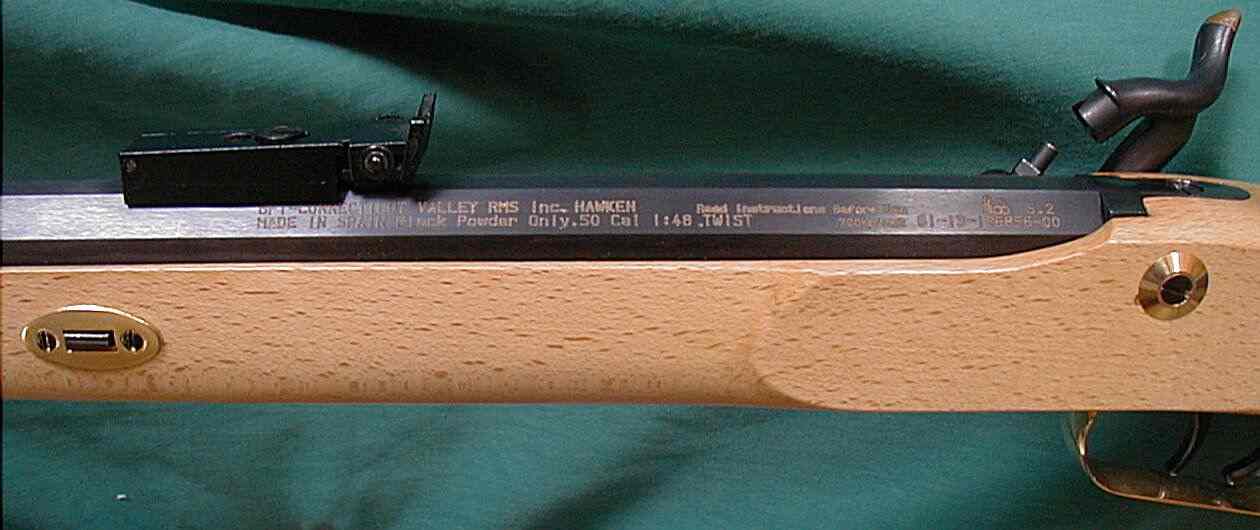
The Finished Rifle
Photographs below show the fit, finish and shape of the completed rifle.
Differences in color tones are due to varying light conditions.


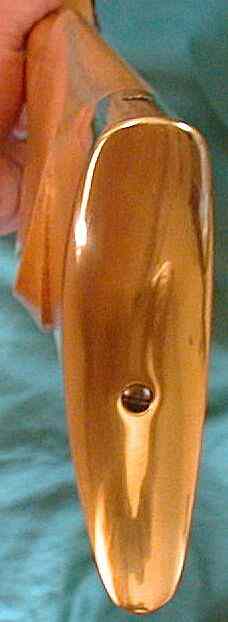
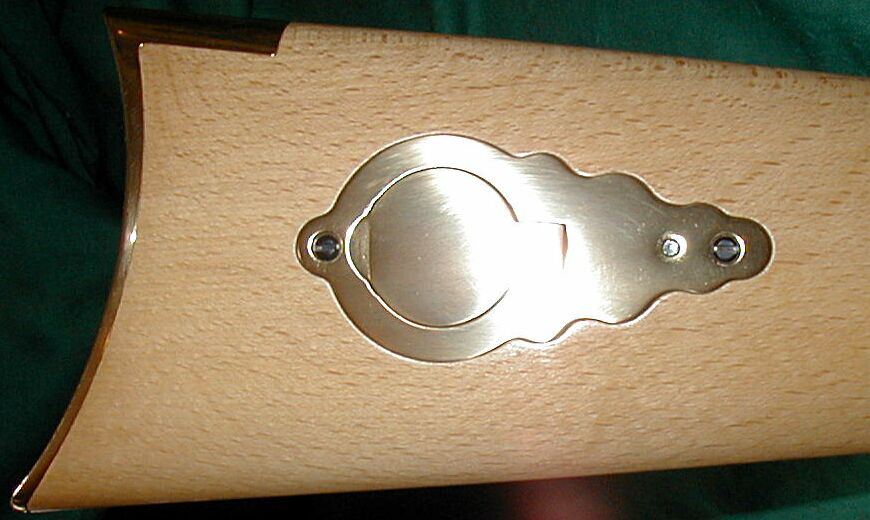

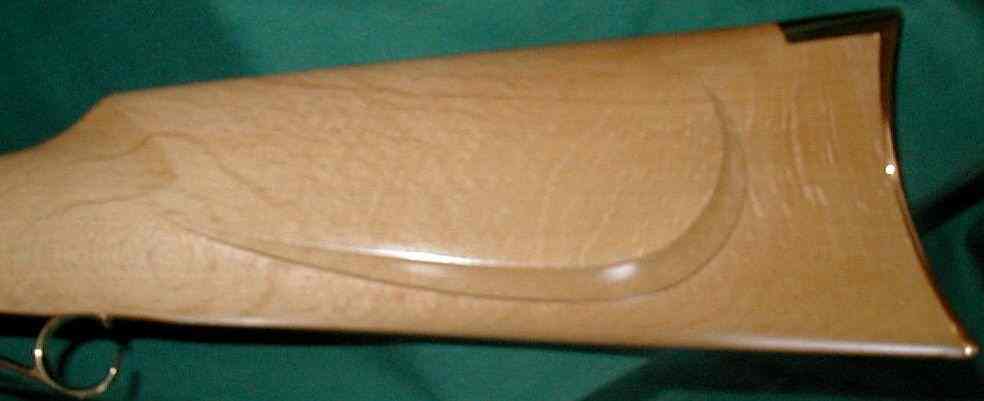


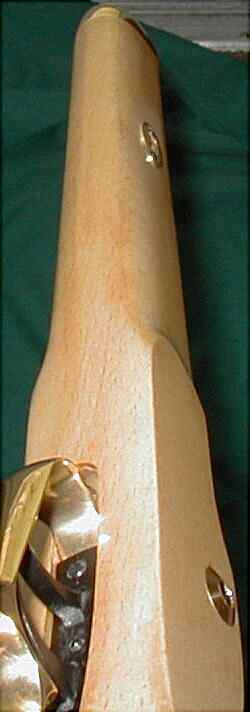

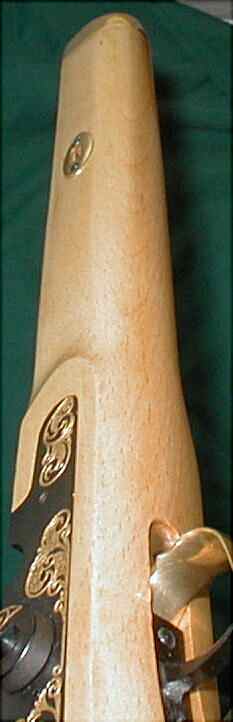
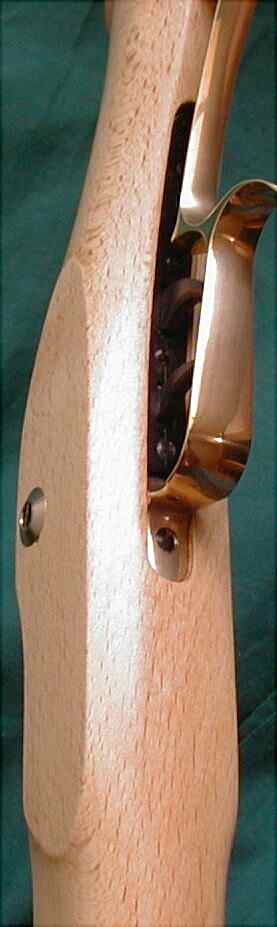


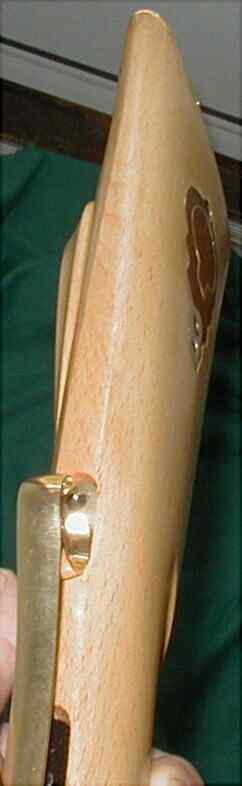
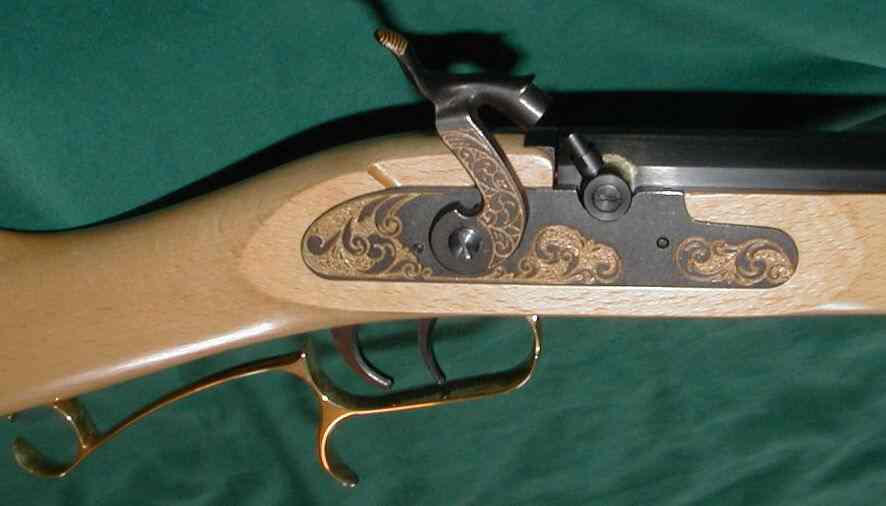
The lock embellishment and barrel lettering was inlayed with 23 karat jewelers gold using an inexpensive kit purchased from Brownells . Only time and usage will prove how well it will wear.
Sixteen days after the last coat of finish was applied the rifle was open sighted.
54 YARD TARGET
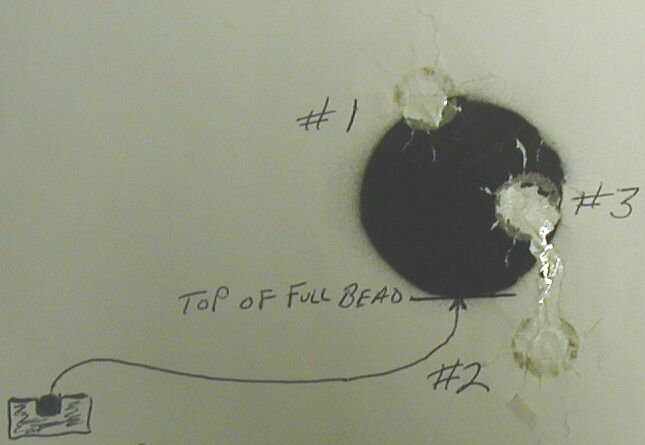
Group measures 1 13/16 inch maximum spread .
The .50 caliber CVA turned out to be a shooter. Eighty (80) grains (by volume measure) of FFg GOEX Black Powder behind 0.490 inch 175 grain Hornady round ball on 0.015 inch thick pre-lubed patch and CCI No. 11 Magnum Cap were used to produce the above 54 yard grouping. Ninety (90) grains of powder produced a slightly greater spread and 80 grains will be the recommended charge for this particular rifle for use with round ball projectiles.
After sighting the rifle a few coats of Birchwood Casey Gun Stock Wax was applied to all exterior parts of the assembled rifle. The wax was applied following the directions supplied on the container.
The rifle is ready for delivery.
Work on the rifle began on March 3. Including sight in, work on the rifle was complete May 5. Nine weeks total.
To Completing the Rifle Back To Page Four
Fitting Butt Piece, Patch Box and Forend Tip
Fitting the Barrel
Fashioning the Cheek Piece
Fashioning the Flutes
Fashioning the Bottom of Butt Section and Area of Trigger Guard
Lock Inletting
Polishing the Brass Fittings
Sealing the Stock
Filling the Grain
Polishing to Wood Surface
Applying Surface Finish
The Finished Rifle
Text and graphics Copyright Riflestock.Net 2006©
Written and compiled by Roger Linger. Email: austin_long@yahoo.com