Building a Muzzle Loader from Kit
page one of five

This page is photograph intensive and may take several minutes to completely load.
Below are pictures and descriptions of the procedures I recently used in building a .50 caliber Hawken style percussion muzzle loader from a CVA kit. The wood supplied was almost completely inletted. The barrel channel and lock inletting was all that had to be enlarged. The stock came with very little wood to be removed except around the cheek piece where, though, there was not as much wood left from the machining as I wanted in some areas.
Fitting Butt Piece, Patch Box and Forend Tip
It is normal for the brass furniture to come with foundry and machine marks and they need a lot of filing, sanding and polishing to make them fit correctly and look proper.
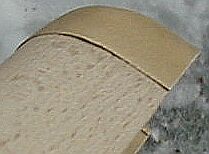
After draw filing butt piece close to level with wood; sanding with 80 and 100 grit paper to match height of brass parts to that of wood. The entire length of stock section being worked is sanded equally so as not to remove too much wood from small areas which would cause unsightly low spots that would be magnified after applying the finish. In the depictions above the complete butt section of stock was carefully sanded from front to back, not just around the areas of brass fittings.
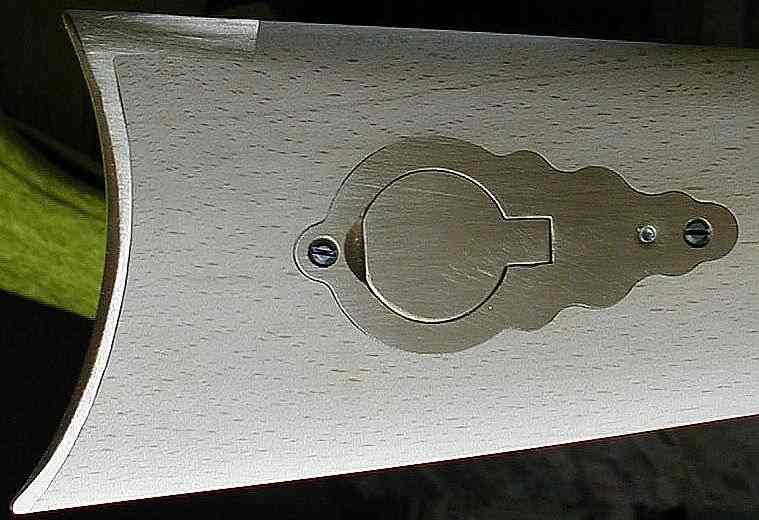
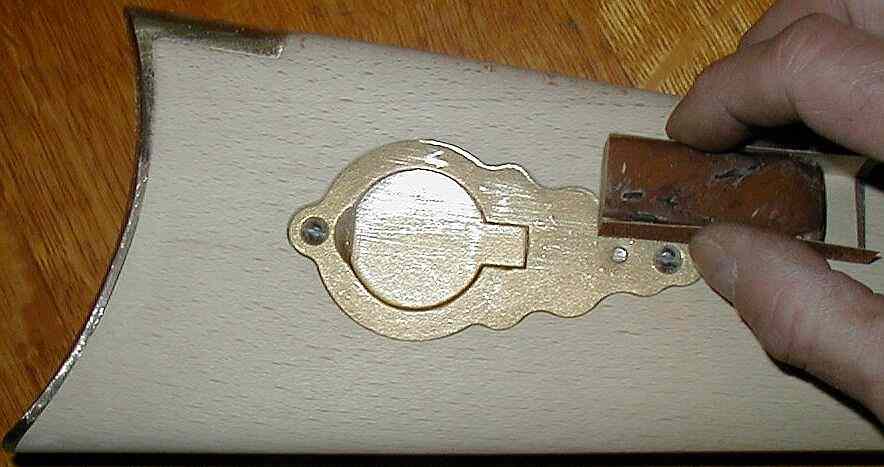
Patch box and butt piece after filing brass and sanding wood and brass level with each other. Note that foundry marks left from the mold have been removed in the process. Also note that much work is still needed to make the brass glassy smooth, which will be done after fashioning the stock but prior to sealing the stock.
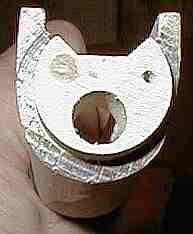
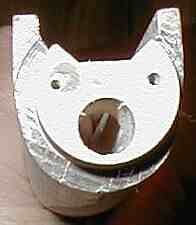
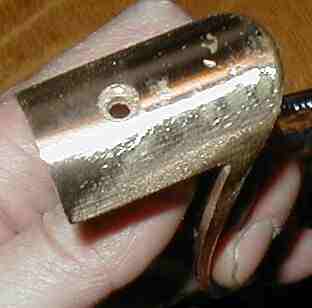
The holes drilled for the forend tip were not properly centered. The picture on the left shows one of the holes filled with a piece of a round tooth pick and epoxy. It was cut flush and sanded smooth after curing. The new hole could then be drilled without the small bit drifting into the original hole.
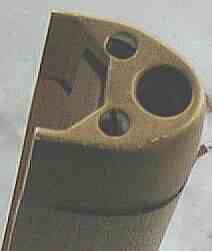
The picture on the left shows excess wood must be removed to mate properly with brass tip. The other side shows excess brass must be filed and sanded smooth with wood.
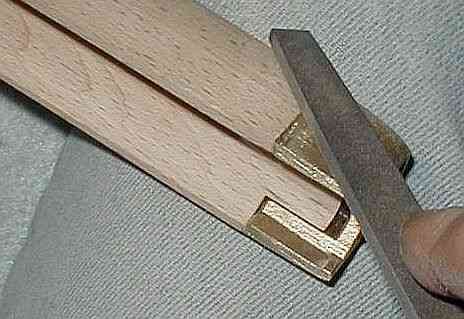
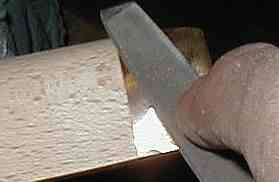
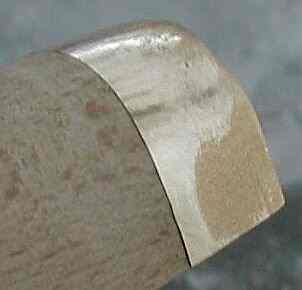
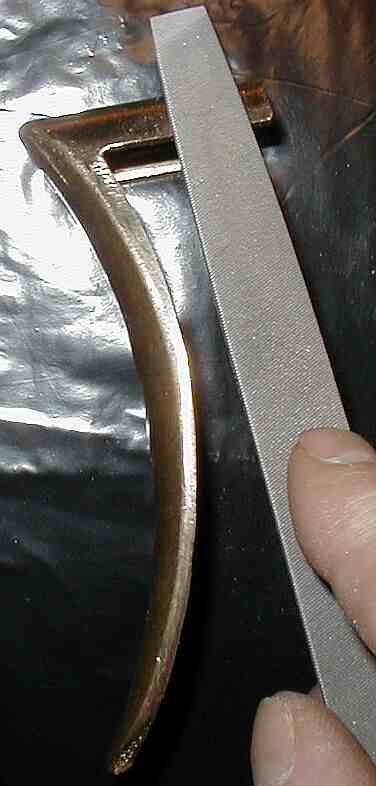
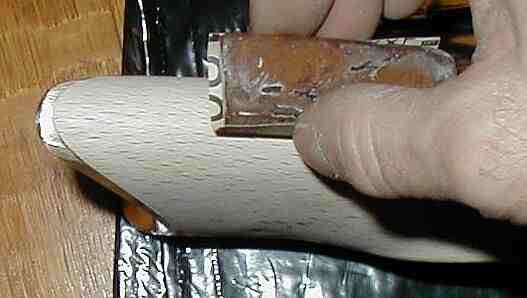
Draw filing brass tip level with wood.
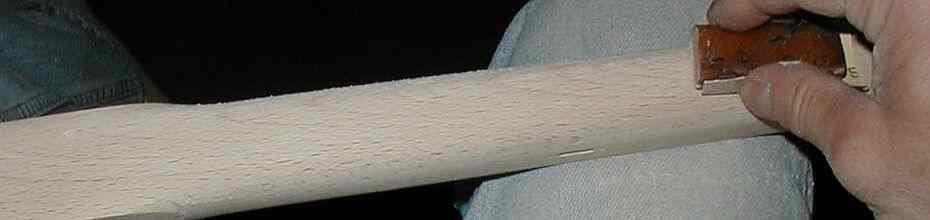
Sanding forearm and brass tip with 80 and 100 grit paper. Note that entire length of forearm is sanded using a sanding block so as not to cause dips and other low spots in wood.
Fitting the Barrel
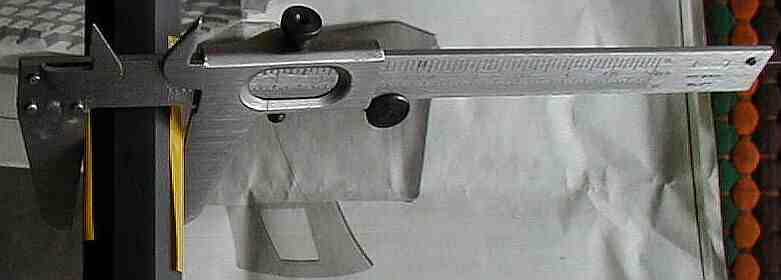
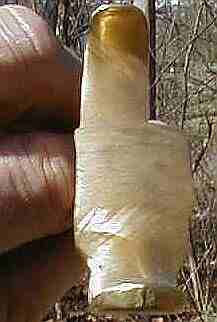
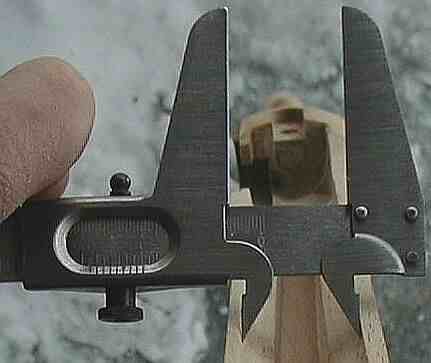
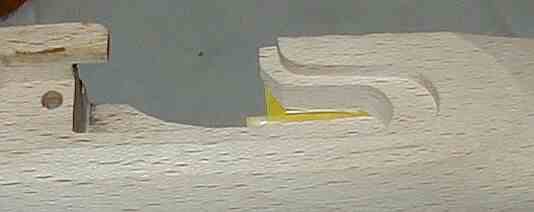
Measuring barrel width with caliper. The yellow tape was used to protect blueing from being scratched.
The barrel channel (upper-most flats only) is widened equally on both sides using a sanding block with 80 and 100 grit paper.
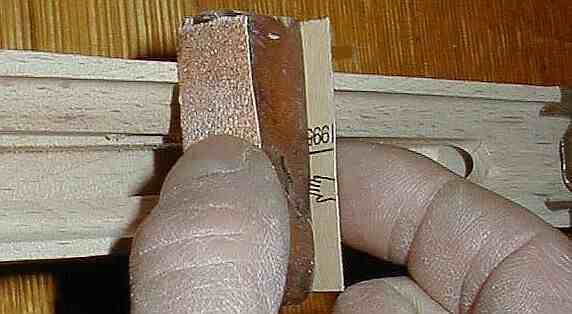
Channel is enlarged until caliper set to barrel width will equally fit inside channel its full length.
Barrel thinly painted with inletting black shows where high spots are in the barrel channel. High spots are removed with the use of a sanding block and the barrel re-seated with inletting black until all high spots are found and removed from the entire length of channel. The barrel channel side flats only (upper-most flat) are then widened to 1/32 inch clearance of barrel.
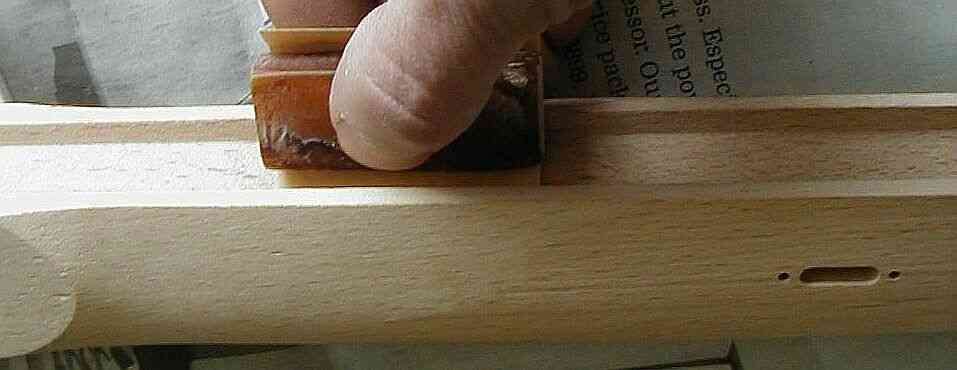
Using 100 grit paper and a sanding block laying on top of both channel rails, the rails are sanded even with top of brass forend tip. Care is taken to ensure the rails come half way up the barrel side flats when barrel is fully seated, and that the rails are the same height the entire length of channel. Laying the block on top both rails helps keep them flat and alike.
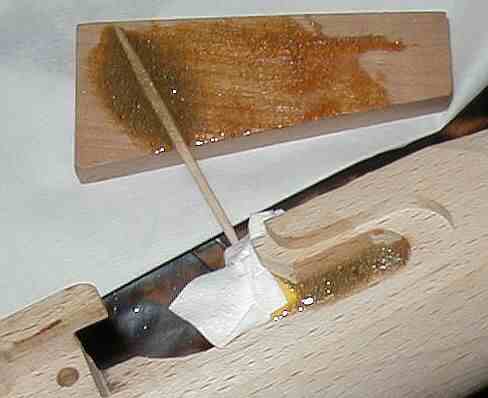
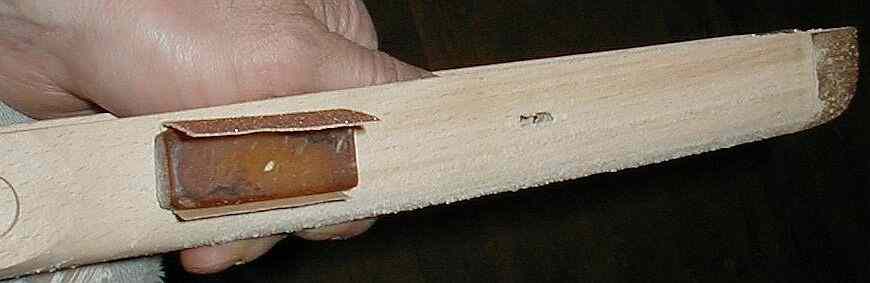
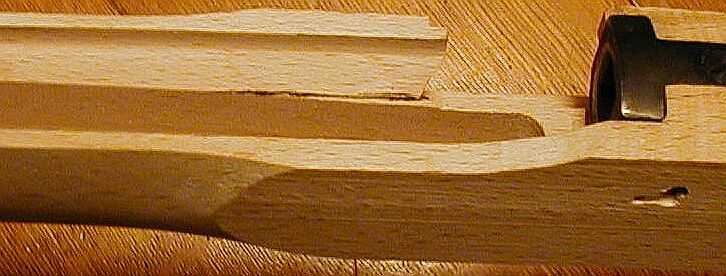
While enlarging barrel channel a section between the lock inletting and channel opened leaving a weak spot in the stock. A strip of tape was applied to channel side against cut out. Then a piece of tissue was stuffed inside channel to keep tape tight against cut out. Glass bedding epoxy mixed with brass filings (saved from filing the brass fittings) was used to fill the void and strengthen that area. The brass filings act as an aggregate giving added strength and stiffness to the epoxy. After curing the tape was easily removed.
Fashioning the Tang
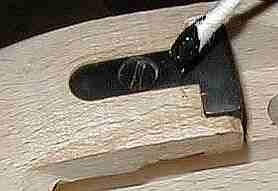
Unlike brass fittings, because the tang is blued it was removed before sanding the wood flush with it. Inletting black was applied to mark the depth to remove wood to. Once most of the wood was removed, using a sanding block with 100 grit paper, the tang was often re-fitted to check that too much wood not be removed. The sanding followed the natural contour of the drop to sides of stock ensuring no dips or other low spots were cut into wood.

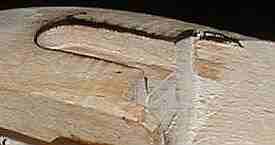
On left side of stock the channel rail slopes up to meet face of tang. To fashion slope gracefully and to keep its top flat and matched to that of the rest of rails, a large wooden sanding block is used. Note that only the bare wood of the block touches areas of stock not to be sanded. A pencil mark is made to indicate tang face where sanding ceases.
To Page Two
Fitting Butt Piece, Patch Box and Forend Tip
Fitting the Barrel
Fashioning the Cheek Piece
Fashioning the Flutes
Fashioning the Bottom of Butt Section and Area of Trigger Guard
Lock Inletting
Polishing the Brass Fittings
Sealing the Stock
Filling the Grain
Polishing to Wood Surface
Applying Surface Finish
The Finished Rifle
Text and graphics Copyright Riflestock.Net 2006©
Written and compiled by Roger Linger. Email: austin_long@yahoo.com