Building a Muzzle Loader from Kit
page four of five
If you've ever wanted to build a muzzleloader, flintlock or black powder rifle from a kit, this is for you. With complete instructions from start to finish for muzzleloader rifle kit assembly. This page is photograph intensive and may take several minutes to completely load.
Filling the Grain
Two days have past since the stock was last sealed with a mineral spirits/tung oil mixture. It is now ready for the first of several wet sanding processes. This will fill the grain level with the surface of the stock and allow the stock to be polished smooth.
Because the maple stock is so light in color I will not dilute the tung oil. This will help to darken the wood a little. The oil being used is the same product used to seal the stock in the previous step.
Wet-or-dry 320 grit sand paper is used for the first wet sanding. Final sanding will be done using wet-or-dry 400 grit paper. About twelve to fourteen small rectangles of sand paper were cut and ready for each wet sanding of the stock. As the paper became too clogged with dusty oil to cut well it was replaced with a fresh piece.
Although not pictured below, the ram rod is also wet sanded in the same manner as the stock.
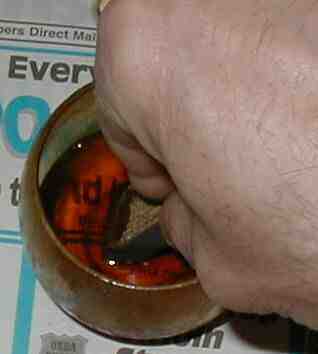
Left - Dipping wet-or-dry paper into tung oil.
Center - Wet sanding with 320 grit wet-or-dry paper and sanding block.
Right - Wet sanding area of flute with 320 grit wet-or-dry paper but without sanding block.
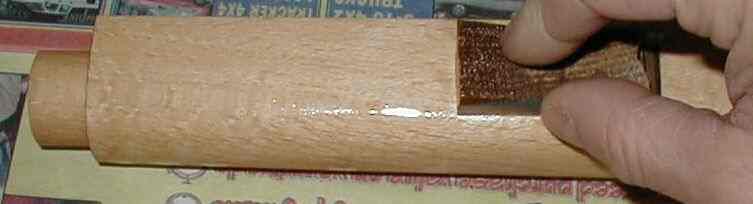
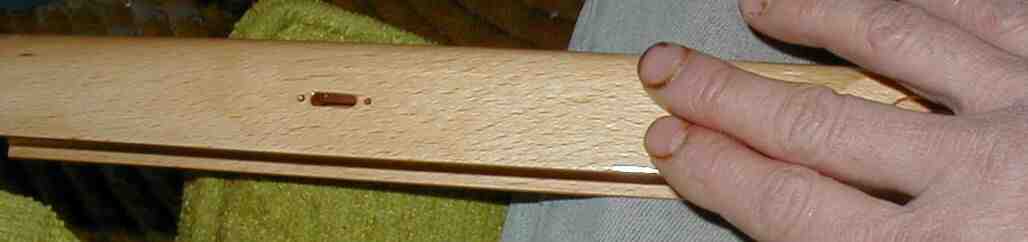
All sanding follows the direction of grain flow. Small areas are wet sanded until oil is thick enough with dust to be wiped into grain (below).

Left - After wet sanding a small portion of stock. Notice the sludge made by tung oil mixed with wood dust.
Right - The dust laden oil is gently wiped into the grain by very lightly dragging a soft cloth diagonal to grain flow.
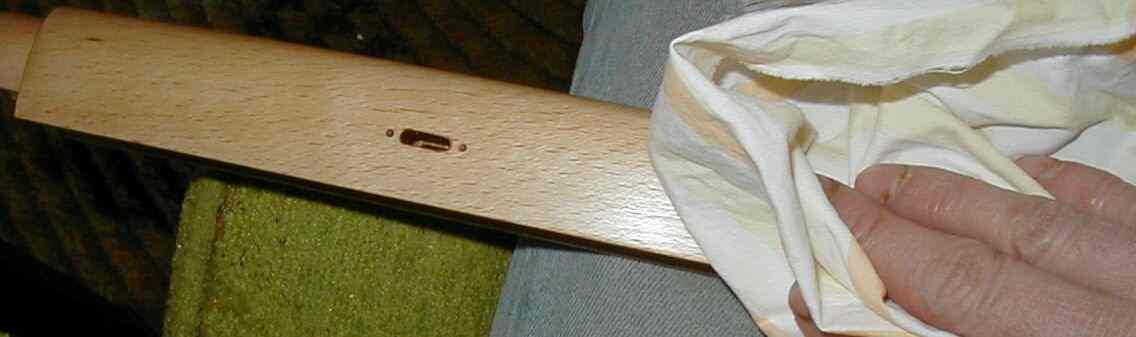
After the complete stock has been wet sanded sludge is cleaned from areas inside inletting.

The stock is set aside and allowed to dry at ambient room temperature for no less than two full days before wet sanding it again.
Polishing to Wood Surface
The stock was wet sanded, as shown above, three times. Two days were allowed to elapse between each wet sanding.
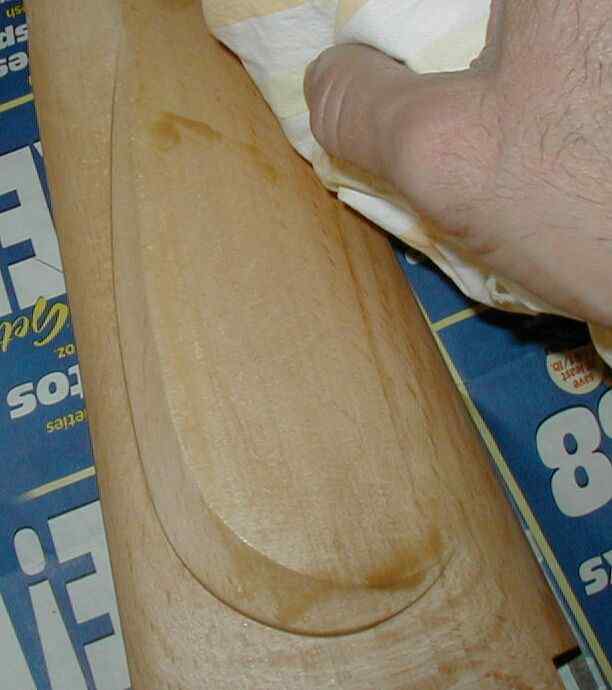
Two days after the third wet sanding the dry tung oil film was polished off the stock using a cloth and Brownells Three F Stock Rubbing Compound. This took about six hours total. Then the stock was polished using Five F compound, a very fine grit polishing compound. This took about another six hours total.
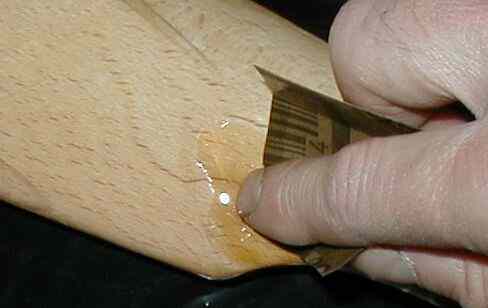
Here is shown the reddish tint of the Three F compound soaked into a strip of grain that had not completely filled. This area had to be carefully sanded to remove the compound, then wet sanded to fill the grain. The area was again polished smooth to the wood surface after the grain was filled and had cured.
Applying Surface Finish
Once all dry oil was polished off the surface of the stock and the stock surface smooth the finish coats were applied.
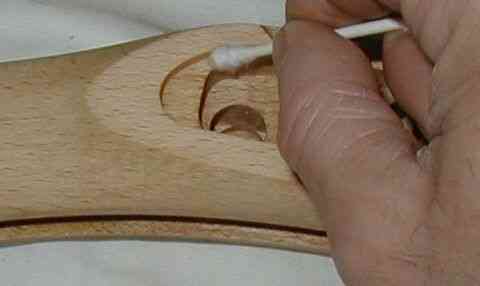
Before applying any surface finish all inletting was scraped to remove polishing residue and dried tung oil that was used during wet sanding. The brass parts were then checked for proper fit. The inletting will be scraped again after all surface coats have been applied and dry.

Left - Using a file and sand paper, a scraper was fashioned from a beer can tab. Center - Using the scraper to remove excess oil from the surface of inletting.
Right - Inletting tools are easier and faster if available.

Permalyn purchased from Brownells was chosen as the finish to use on the surface of the stock and ram rod.
About one teaspoon of Permalyn was mixed with an equal amount of mineral spirits. This thinned the oil so it would not dry too quickly while applying it and rubbing it on stock.
Left - Applying finish/mineral spirits mixture to a section of stock. Right - Wiping excess off with soft cotton cloth. All rubbing is done in the direction of grain flow.
One side of the butt section was lightly smeared with the Permalyn mixture and wiped dry with a clean soft cloth and then the other side. The procedure was likewise repeated up the stock until all the stock had been done. Then finish was likewise applied to the ram rod. All wiping of the finish was done in the direction of grain flow and before the finish was allowed to become tacky. Although some finish gets into inletting, no finish was purposely applied to areas of inletting and any that remains will be scraped away before completion of rifle.
The stock and ram rod was softly wiped and rubbed with the cloth in such a manner as to remove the finishing oil. Left behind was an even and microscopic film of finishing oil on the surface of the stock. Addition coats will be applied until the desired depth and sheen is achieved. The end result will be a stronger, more resistant finish and more evenly applied finish than a few heavy coats of finish.
Before setting the stock aside to dry it was inspected for missed areas such as tiny spots that excess finish could hide and cause runs or build up, such as where the cheek piece tapers to the face of stock. All inletting was also checked for pools of finishing oil that could run out onto the stock while the stock was set to dry.
Each coat of finish is allowed to dry for one full day at ambient room temperature before applying the next coat.


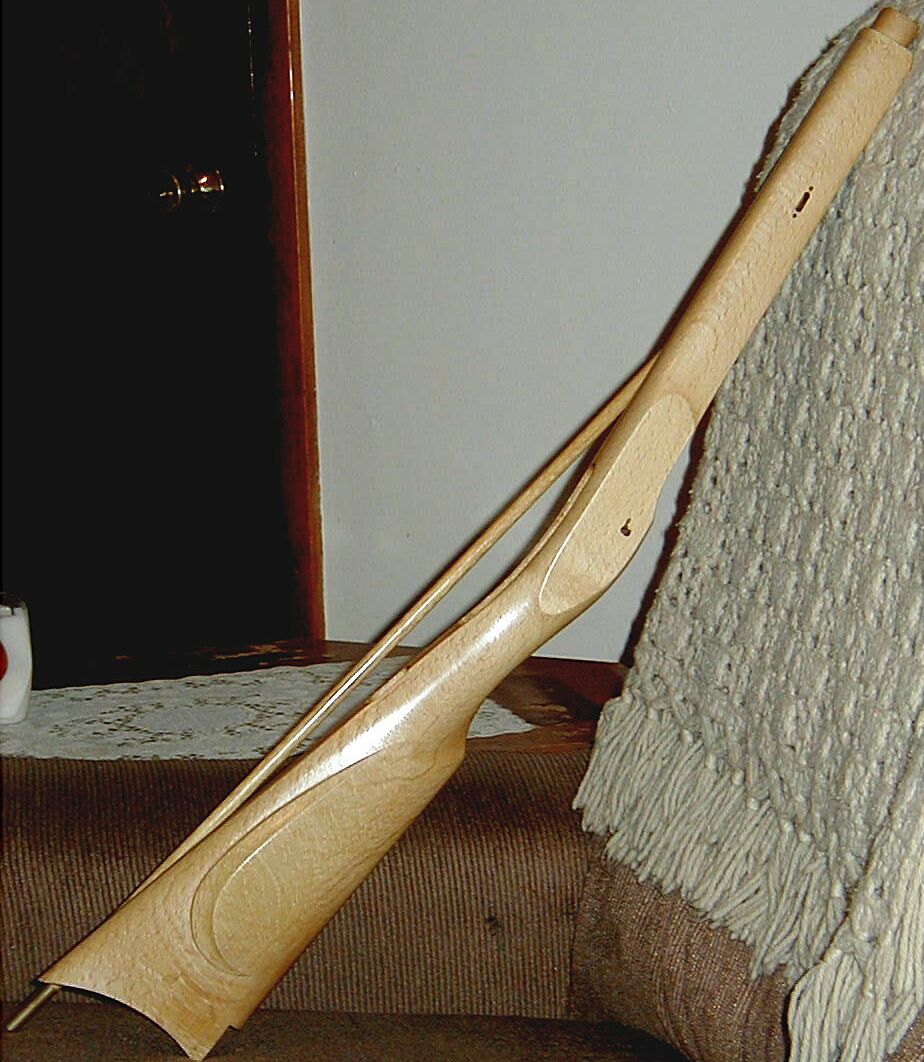
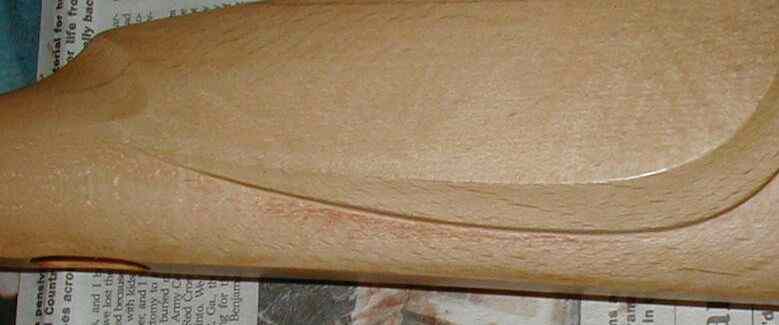
A total of eleven surface coats of Permalyn mixed 1 to 1 with mineral spirits were applied to the stock and ram rod. After the final coat had dried the stock and ram rod were lightly polished using a small square of cotton cloth and Brownells Five F stock rubbing compound. The stock and ram rod were polished in the direction of grain flow. Polishing was done to remove any microscopic ripples caused by applying by hand the numerous coats of finish. Sheen rose substantially as a result of polishing. Polishing the stock with Five F compound took about 1 hour 15 minutes. Shown above are the results.
A final, twelfth, coat of surface finish was then applied to the stock and ram rod but not polished.
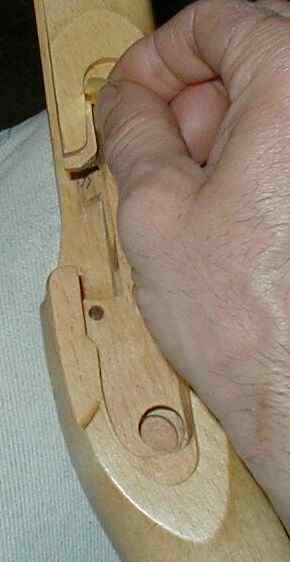
One full day after applying the final coat of surface finish excess finish that had gotten into the inletting was carefully scraped away. Any bare wood left from scrapping was lightly coated with one part tung oil mixed with three parts mineral spirits. One day later the rifle was assembled .
To Page Five Back To Page Three
Fitting Butt Piece, Patch Box and Forend Tip
Fitting the Barrel
Fashioning the Cheek Piece
Fashioning the Flutes
Fashioning the Bottom of Butt Section and Area of Trigger Guard
Lock Inletting
Polishing the Brass Fittings
Sealing the Stock
Filling the Grain
Polishing to Wood Surface
Applying Surface Finish
The Finished Rifle
Text and graphics Copyright Riflestock.Net 2006©
Written and compiled by Roger Linger. Email: austin_long@yahoo.com