Building a Muzzle Loader from Kit
page three of five
Fashioning the Bottom of Butt Section and Area of Trigger Guard

Regrettably I had already worked on the bottom of the butt section before it occurred to me that I should document the project. Therefore, I have no pictures of this part of the stock as it arrived to me from the vendor. The stock was not wide enough, for my taste, from toe to comb to flatten the bottom all the way to brass butt piece. It had been cut flat at trigger guard inlet, forward of inlet and just rearward of inlet by the vendor's machine (which is proper for a Hawken). Using a sanding block I continued the flat up the butt section in line with guard inlet and ending in a slow tapper.
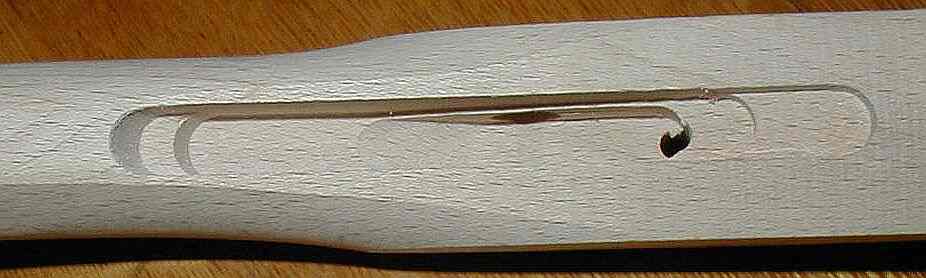
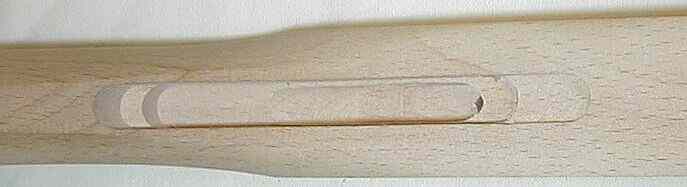
I elected to bring the lines closer to the inlet at trigger guard, giving this section a more curved appearance. The picture on the left shows this section of stock as it arrived from the vendor. As always, the sanding was performed in direction of grain flow while using a sanding block.
Lock Inletting
Fitting Butt Piece, Patch Box and Forend Tip
From the vendor the lock fit too tight in its inletting. It needed to be relieved a little to prevent future problems caused by stock swelling.
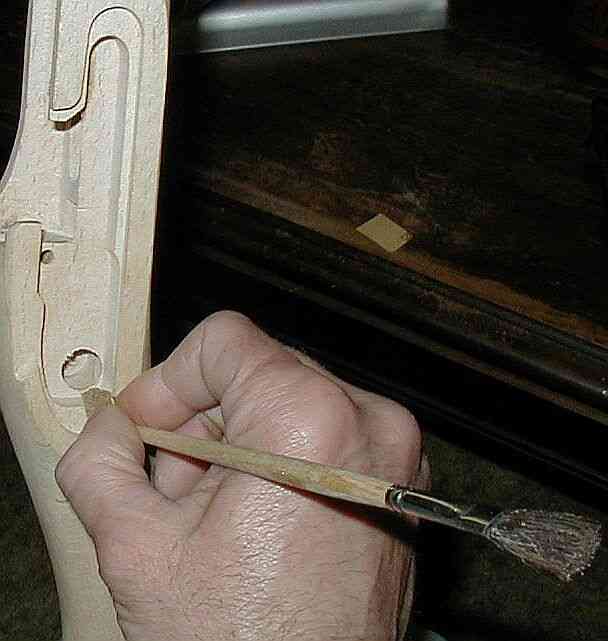
Using a small brush handle as a sanding form and 100 grit paper to enlarge curved ends of lock inlet.

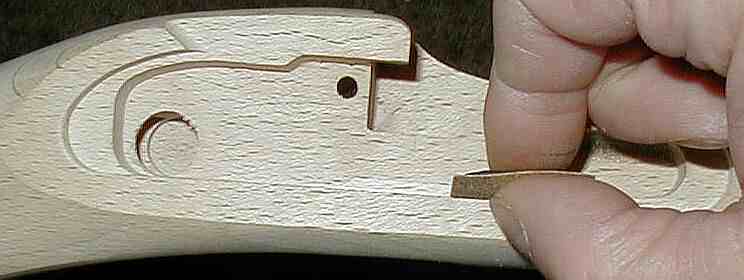
Here a sliver cut from a plastic eraser and 100 grit paper is used as a sanding block to remove wood from the straight runs of lock inlet. Only small amounts are uniformly removed before checking for fit.
After fitting the lock wood was sanded level with face of lock in the same manner the tang area was fashioned. One exception is that no inletting black was used here. Instead only small amounts of wood was removed before fitting lock to check.
Polishing the Brass Fittings
The stock is shaped and ready to be sealed. Before sealing the stock the brass fixtures will be polished to a mirror finish, after which they will be reassembled to the stock to make sure brass and wood are still level with each other.
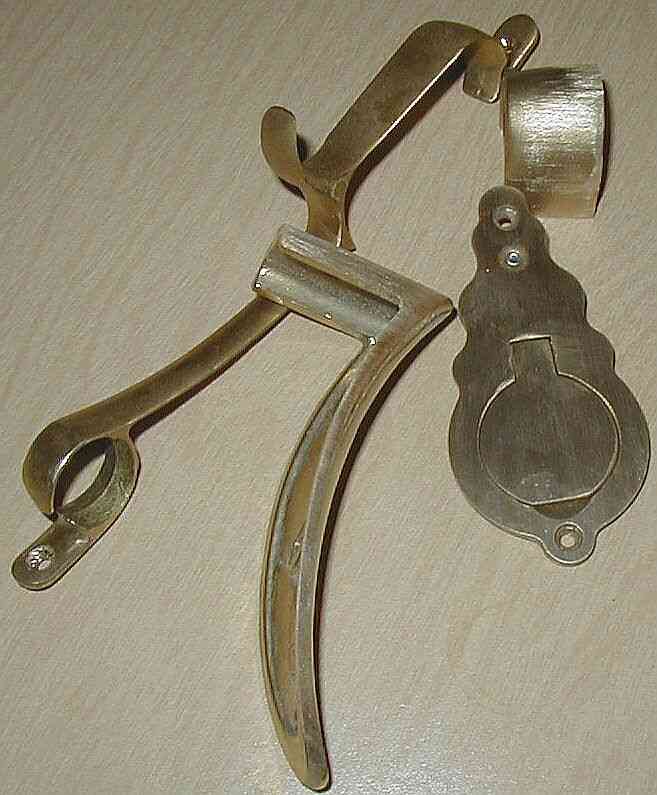
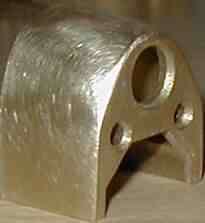
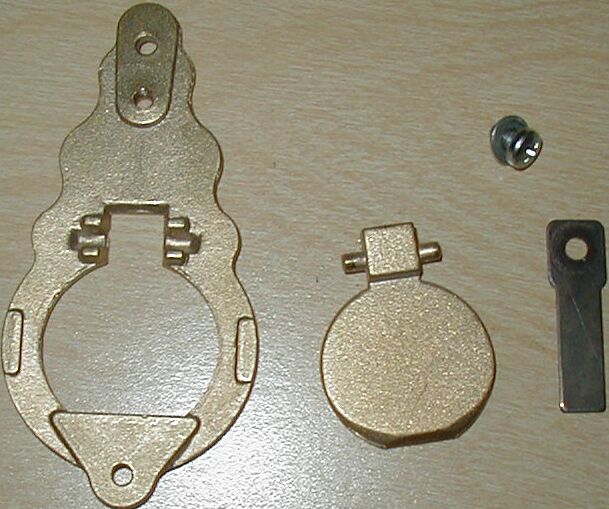
All foundry and machine marks must be removed and brass polished to a mirror surface.
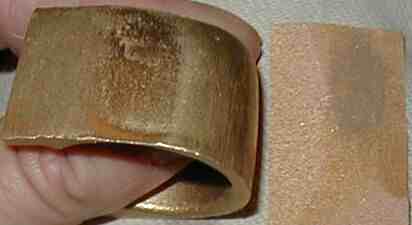
Left - Brass fixtures before polishing. Right - 180 grit sand paper highlights foundry marks that must be removed.

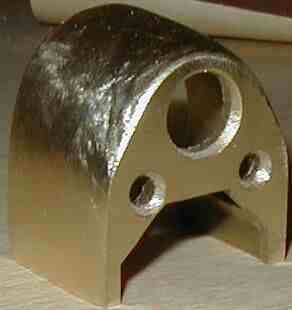
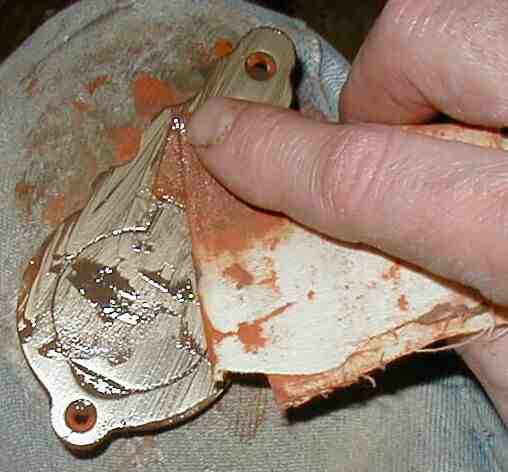
Left - Draw filing foundry marks out of brass. Right - Filed and ready for sanding.
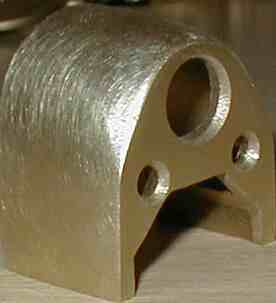
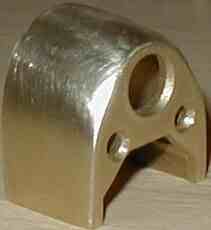
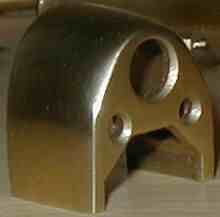
Left to right - After sanding to180 grit, 320 grit, 600 grit, 0000 steel wool
All sanding was done by hand. The part was sanded in a circular motion.
The trigger guard does not have to be polished before sealing the stock. It will be worked while the sealer is curing.
The patch box and butt plate do not need further draw filing because the butt plate was filed before shaping the stock and the patch box was sanded while shaping the stock. Those pieces will be sanded and buffed in the same manner as the tip cap above. The stock will then be reassembled and checked for wood removal. Later the brass fixtures will be further polished using stock rubbing compounds.
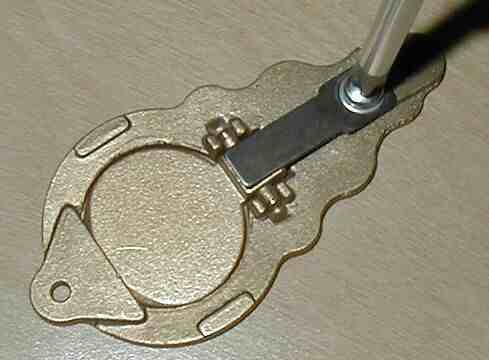
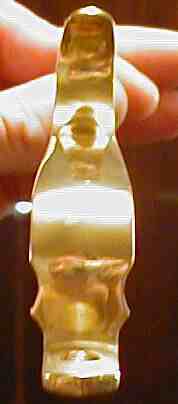
Bottom view of CVA Hawken style patch box
Not all areas of patch box lid are accessible for polishing while assembled.
Left - Polishing patch box with Brownells Three F Stock Rubbing Compound.
Right - Trigger guard after polishing with Brownells Original, then Three F, then Five F stock rubbing compound. Notice the reflection of me taking the picture.
Sealing the Stock
Sealing the stock will help stabilise it by protecting it from moisture. The sealer is thinned to cause it to penetrate deeper into the wood.
The stock was lightly sanded using sanding blocks and 400 grit paper then all dust removed. For the sealer four parts mineral spirits was mixed with one part tung oil. The tung oil used here is a product of Waterlox by the name of Waterlox Original Sealer/Finish. It is not the only oil that could have been used but I had it on hand and it performs very well as a sealer and for wet sanding dust into the grain.
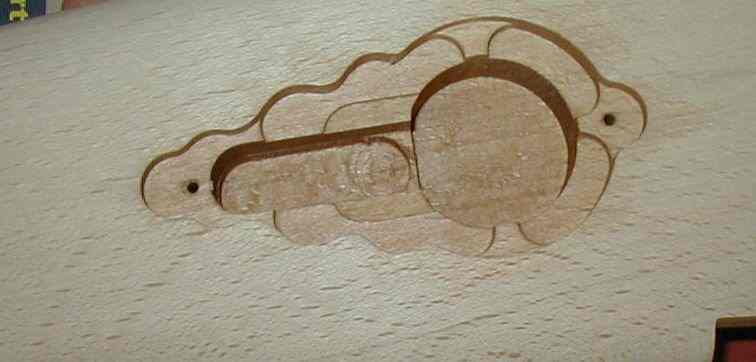
First all screw holes and other small holes were saturated with the sealer. Then all inletting (patch box inlet, lock inlet, fore-tip, butt, and barrel channel) was painted well using a small brush. The sealer was allowed to soak into the wood for a couple minutes before turning the stock to seal other areas.
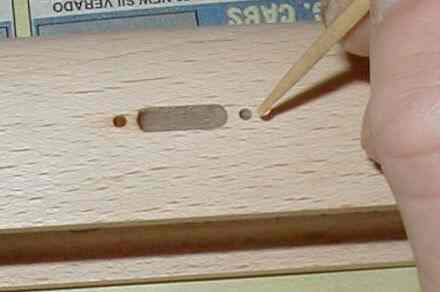
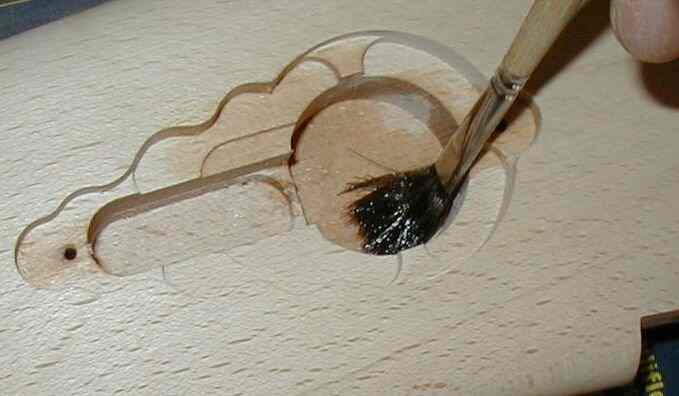
Left - using mineral spirits/tung oil mixture and tooth pick to seal screw holes.
Right - painting inletting with mineral spirits/tung oil mixture.
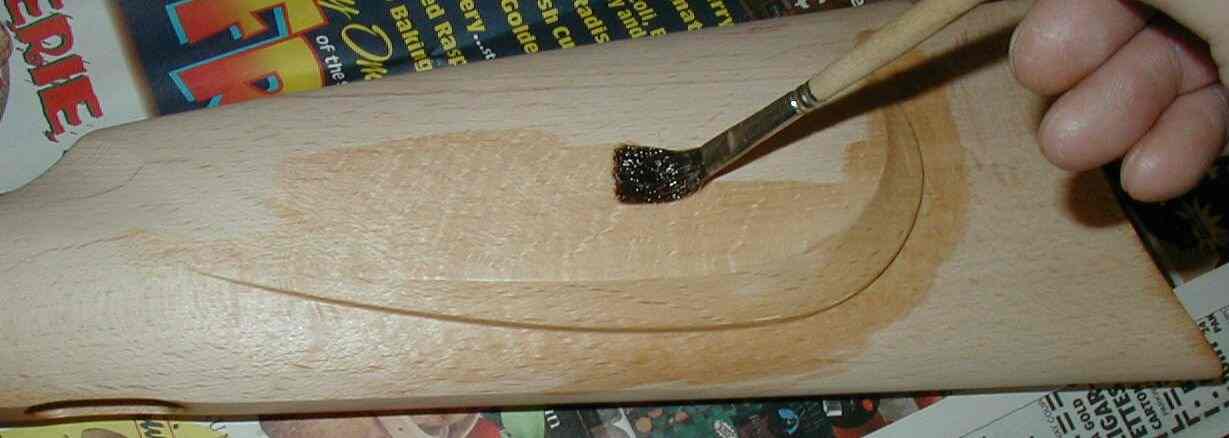
The stock, one side at a time, was then saturated with the sealing mixture.

The sealer is allowed to soak into wood for a couple minutes before applying sealer to other sides.
The ram rod is also painted with sealer. The ram rod came from the vendor assembled with the well polished brass ends attached with pins. Being careful not to scratch the brass ends the ram rod wood was polished smooth to 320 grit with sand paper before applying sealer.
The sealer coat helps to highlight errors. After sealer has been applied to all parts of stock and stock is no longer tacky to the touch the stock is inspected for over looked errors in shaping. Errors are noted and corrected after sealer has cured, at least 24 hours. A second sealer coat, mixed three parts mineral spirits to one part tung oil, is then applied to the entire stock and ram rod. The stock is then allowed to dry at ambient room temperature for no less than two days before wet sanding.
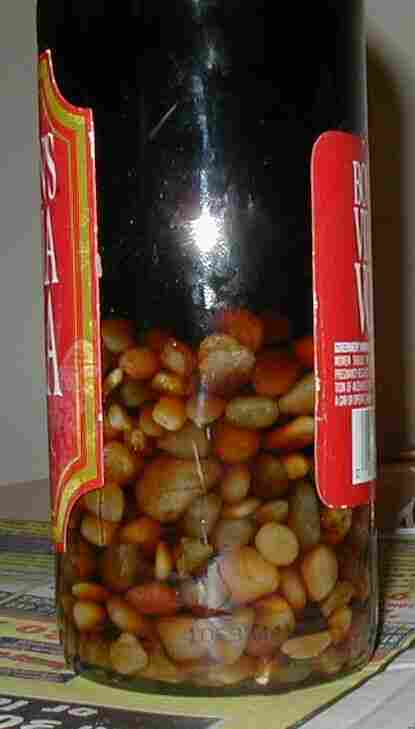
During a previous project I damaged the cap on the original can and transfered the tung oil to a glass bottle. Bottle shows small gravel added to evacuate air thereby giving the oil longer shelf life. I sure hope the bottom doesn't fall out.
To Page Four Back To Page Two
Fitting Butt Piece, Patch Box and Forend Tip
Fitting the Barrel
Fashioning the Cheek Piece
Fashioning the Flutes
Fashioning the Bottom of Butt Section and Area of Trigger Guard
Lock Inletting
Polishing the Brass Fittings
Sealing the Stock
Filling the Grain
Polishing to Wood Surface
Applying Surface Finish
The Finished Rifle
Text and graphics Copyright Riflestock.Net 2006©
Written and compiled by Roger Linger. Email: austin_long@yahoo.com